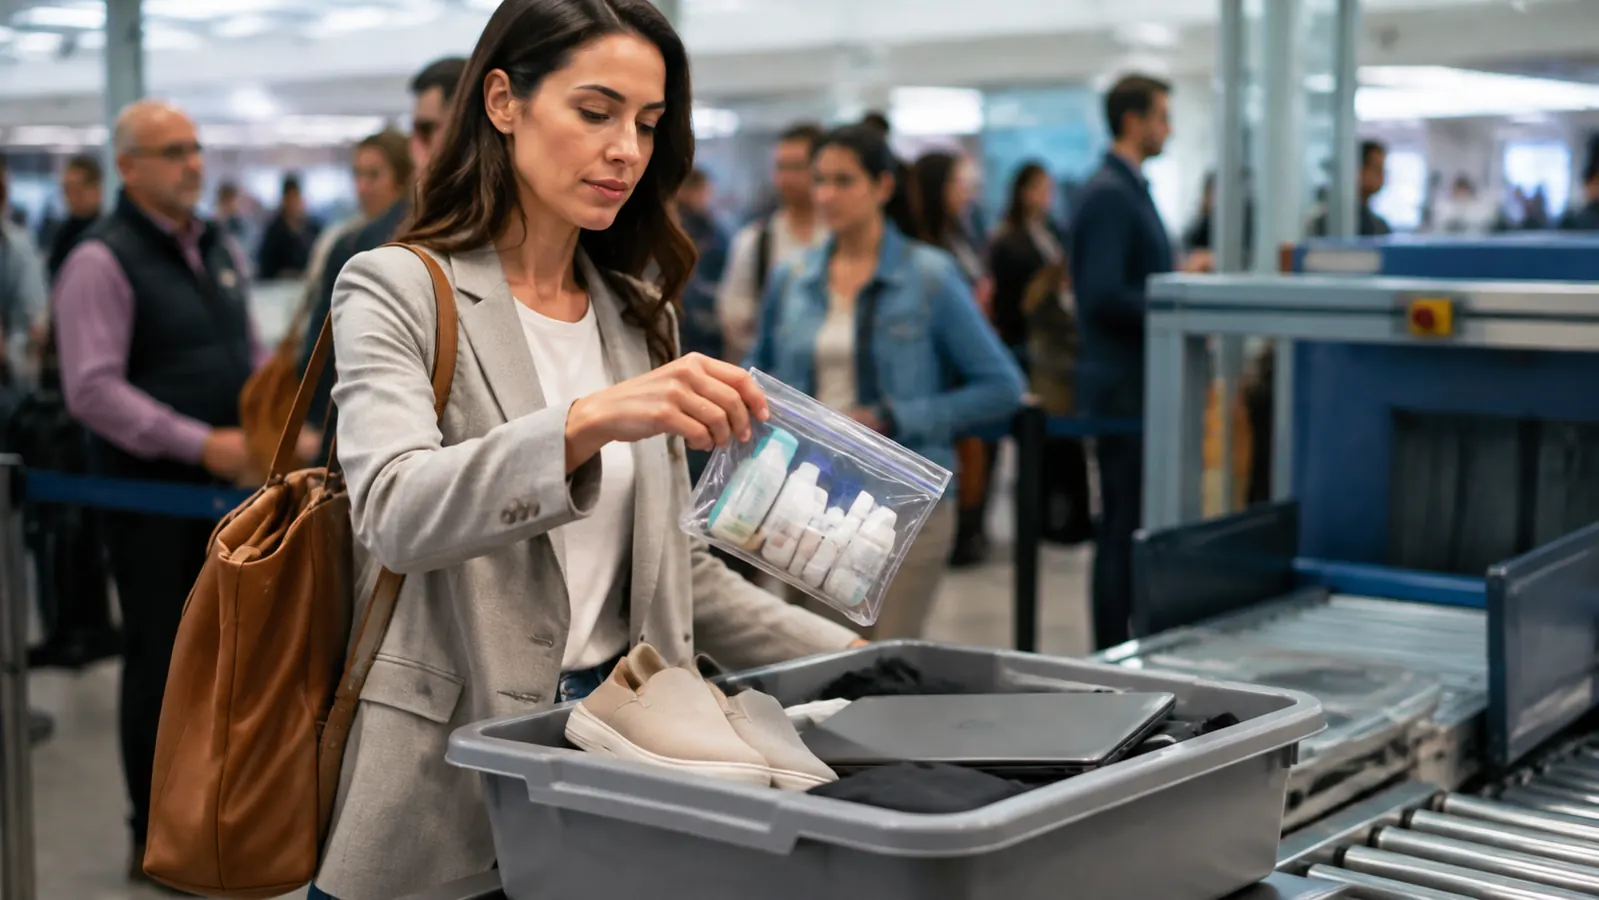
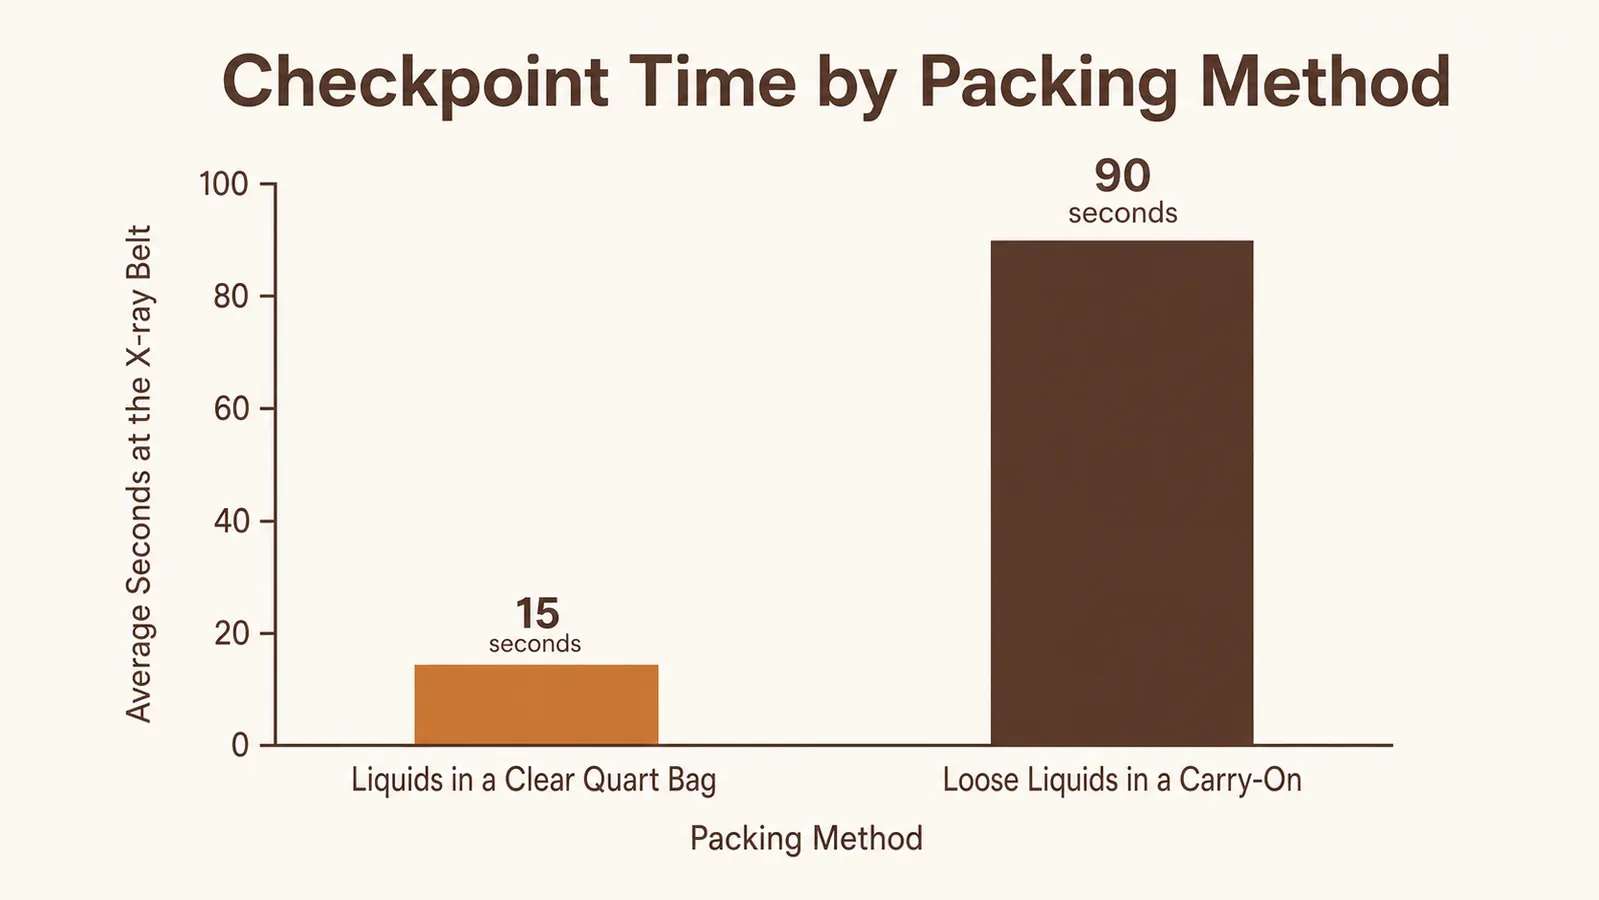
Every checkpoint has a version of the same scene: someone digging through a backpack for a full-size shampoo bottle while the line backs up behind them, or watching an agent pull their bag aside because a lotion tube was buried under a sweater instead of sitting in plain sight. None of it is bad luck. It is almost always the same root cause, liquids that were not sorted, sized, or bagged the way TSA actually checks for them, and it costs the same five to ten minutes every single trip until someone fixes the actual system rather than just packing faster next time.
The fix is not memorizing TSA's rulebook line by line. It is building a five-step packing routine around one piece of gear that does the sorting for you, a clear, quart-sized, zippered bag that holds up over dozens of trips instead of splitting at the seam on trip three. We built this routine around the PACKISM TSA Approved Toiletry Bag, a set of three clear quart-size pouches, after testing it against the way people actually pack rather than against a spec sheet. What follows is the routine itself, from the rule you need to know cold before you pack anything, to the dry run that catches mistakes before you are standing at the belt.
None of this is a one-trip fix, either. The whole point of building the routine around a bag rather than a checklist you re-read every time is that the bag itself becomes the habit, sitting in the same pocket of the same carry-on, trip after trip, until you stop thinking about the checkpoint at all. That is the standard we tested against, not whether a bag survives one vacation, but whether it still zips flat and holds its shape after a year of being stuffed into a backpack, tossed in an overhead bin, and run through the X-ray belt a dozen times over.
Tired of Getting Pulled Aside for a Liquids Recheck?
This is the PACKISM 3-pack clear quart-size toiletry bag built into the routine below. Check today's price and current availability on Amazon before your next trip.
Amazon Check Today's Price on Amazon →Step 1: Know the 3-1-1 Rule Cold, Before You Pack Anything
TSA's rule for carry-on liquids is simpler than most people treat it. Every container has to be 3.4 ounces or 100 milliliters or smaller, all of those containers have to fit into one quart-sized clear bag, and each passenger gets exactly one bag. That is the whole rule, usually called 3-1-1: 3.4 ounces per container, 1 quart-sized bag, 1 bag per traveler. It is not about how much liquid you are carrying in total, it is about container size and how it is presented at the checkpoint.
The container size trips up more travelers than the bag size does. A half-empty 8-ounce bottle of shampoo does not qualify just because there is only 2 ounces of product left inside it, the printed size on the bottle is what the agent checks, not what's actually sloshing around inside. That means the fix has to happen before you pack, decanting anything over 3.4 ounces into a smaller travel bottle, rather than at the belt when it is too late to do anything but surrender the bottle.
The quart-bag part of the rule is where the wrong bag quietly costs you time. A gallon-size food storage bag or an oversized cosmetics pouch is not quart-sized even if everything technically zips shut, and an agent who eyeballs a bag that looks too big will ask you to consolidate on the spot. A bag that is actually manufactured to quart dimensions removes that judgment call entirely, since there is nothing to eyeball twice.
It is also worth remembering the rule applies per person, not per family or per shared bag. Two travelers in the same household each need their own quart bag, packed separately, even if it means a slightly heavier carry-on for each of you. Trying to consolidate a family's liquids into one bag to save space is one of the more common reasons a bag gets flagged, since one oversized bag reads as a rule violation no matter how neatly everything is arranged inside it.
Step 2: Choose a Bag That's Actually Quart-Sized and Stays Clear
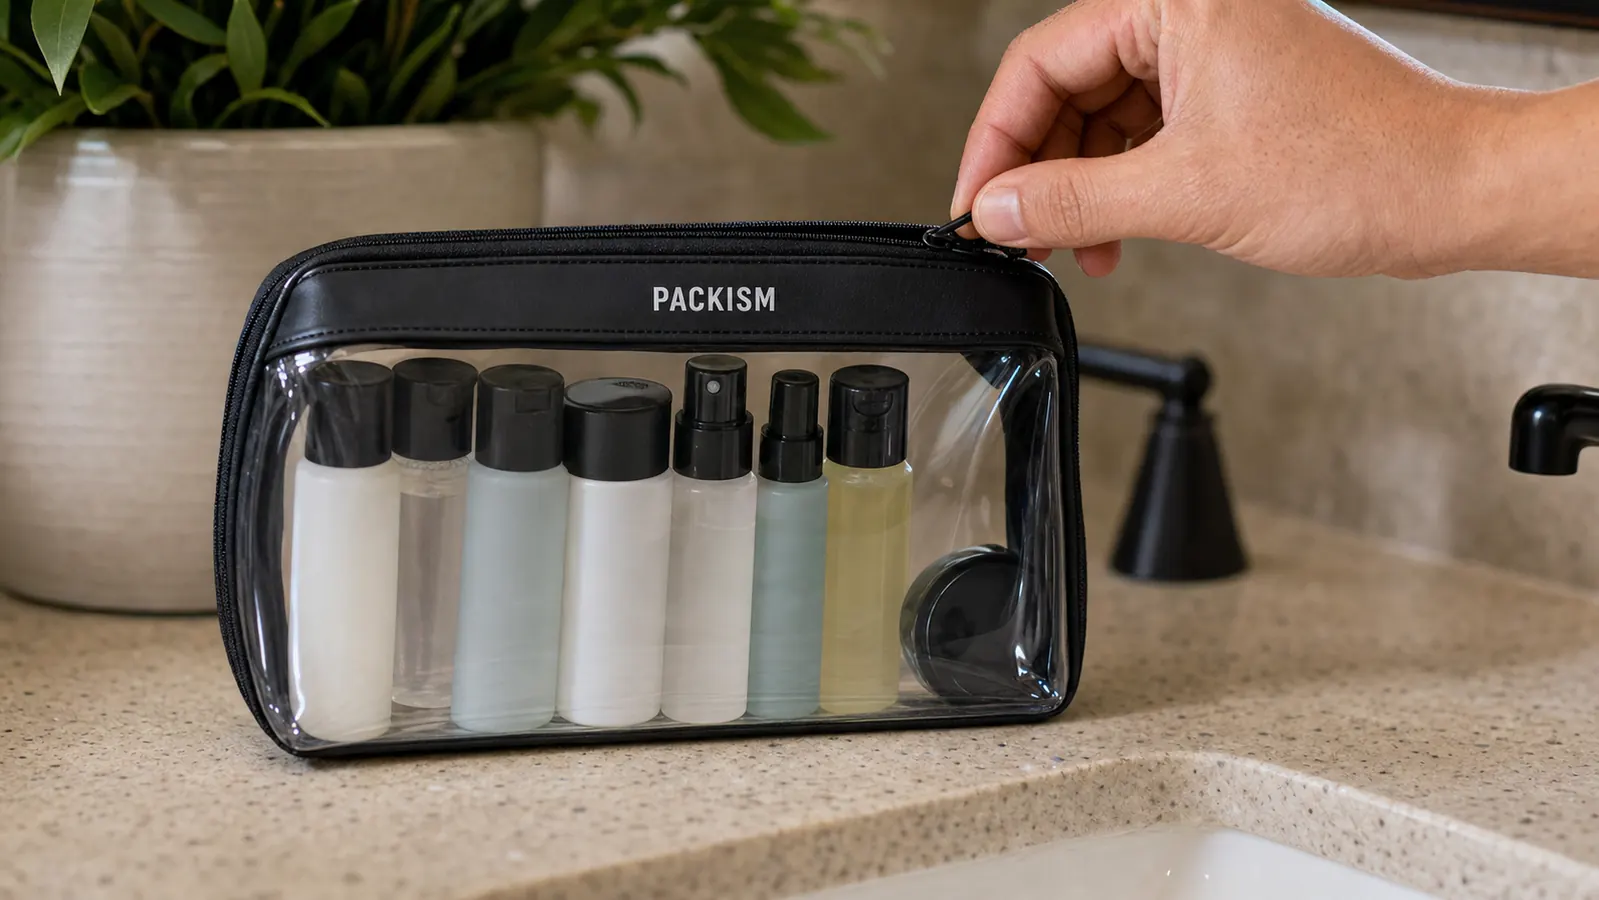
Not every bag sold as a toiletry bag is built to the quart-size dimensions TSA expects, and not every clear bag stays clear after a few trips through a packed suitcase. The PACKISM bag is sized to quart dimensions on purpose and made from a thicker plastic than a sandwich-style zip bag, which matters more than it sounds like it should, because a bag that clouds up or scuffs after a handful of trips stops doing the one job it has: letting an agent see the contents without opening it.
The zipper matters just as much as the material. A slider-style zipper that seals flat, rather than a fold-over top or a flimsy press-seal strip, is what keeps a leak from turning into a bag full of ruined clothes if a bottle cracks in transit. We have run the same PACKISM bag through a dozen trips without the zipper track splitting, which is the actual failure point on cheaper bags, not the plastic itself.
Buying a bag as a three-pack rather than a single bag is worth the extra couple dollars for a simple reason, one bag lives in your carry-on permanently, one gets packed for a second traveler or a checked bag's separate liquids, and the third is a spare for the trip where the first one finally does wear out. At a budget-friendly price for all three, replacing a torn bag costs very little compared to starting over from a single-bag purchase.
Weigh that against what a sandwich-style bag actually costs over the same stretch of trips. A box of quart food storage bags is cheaper up front, but the seams start to stretch and the seal starts to gap after four or five uses, so you are buying a new box every couple of trips instead of every couple of years. Priced out over a year of regular travel, the disposable option is not actually the cheaper one, it just spreads the same cost across more trips to the store.
Step 3: Sort Liquids by Checkpoint Frequency, Not by Shelf Order at Home
Most people pack their toiletry bag the way things sit in the bathroom cabinet, which has nothing to do with how it needs to come out at security. Pack it instead by what an agent is most likely to want a clear look at: sunscreen, hand sanitizer over 3.4 ounces if you forgot to downsize it, and anything gel-like near the top of the bag, with smaller items like contact solution and toothpaste layered underneath.
This matters more on trips where you are also pulling the bag out mid-flight or mid-layover for a quick hand sanitizer top-off. A bag where everything is jumbled means unzipping the whole thing, digging around, and repacking in a cramped seat or a crowded restroom line. A bag sorted by how often you reach for something means the item you need most is the one you touch first, every time.
It also helps to keep the bag itself in the same spot in your carry-on on every trip, not buried under a jacket one time and sitting on top the next. Consistency is what makes the checkpoint fast, an agent asking you to pull it out should mean reaching one hand into a known pocket, not unpacking half your bag on the belt while the line stacks up behind you.
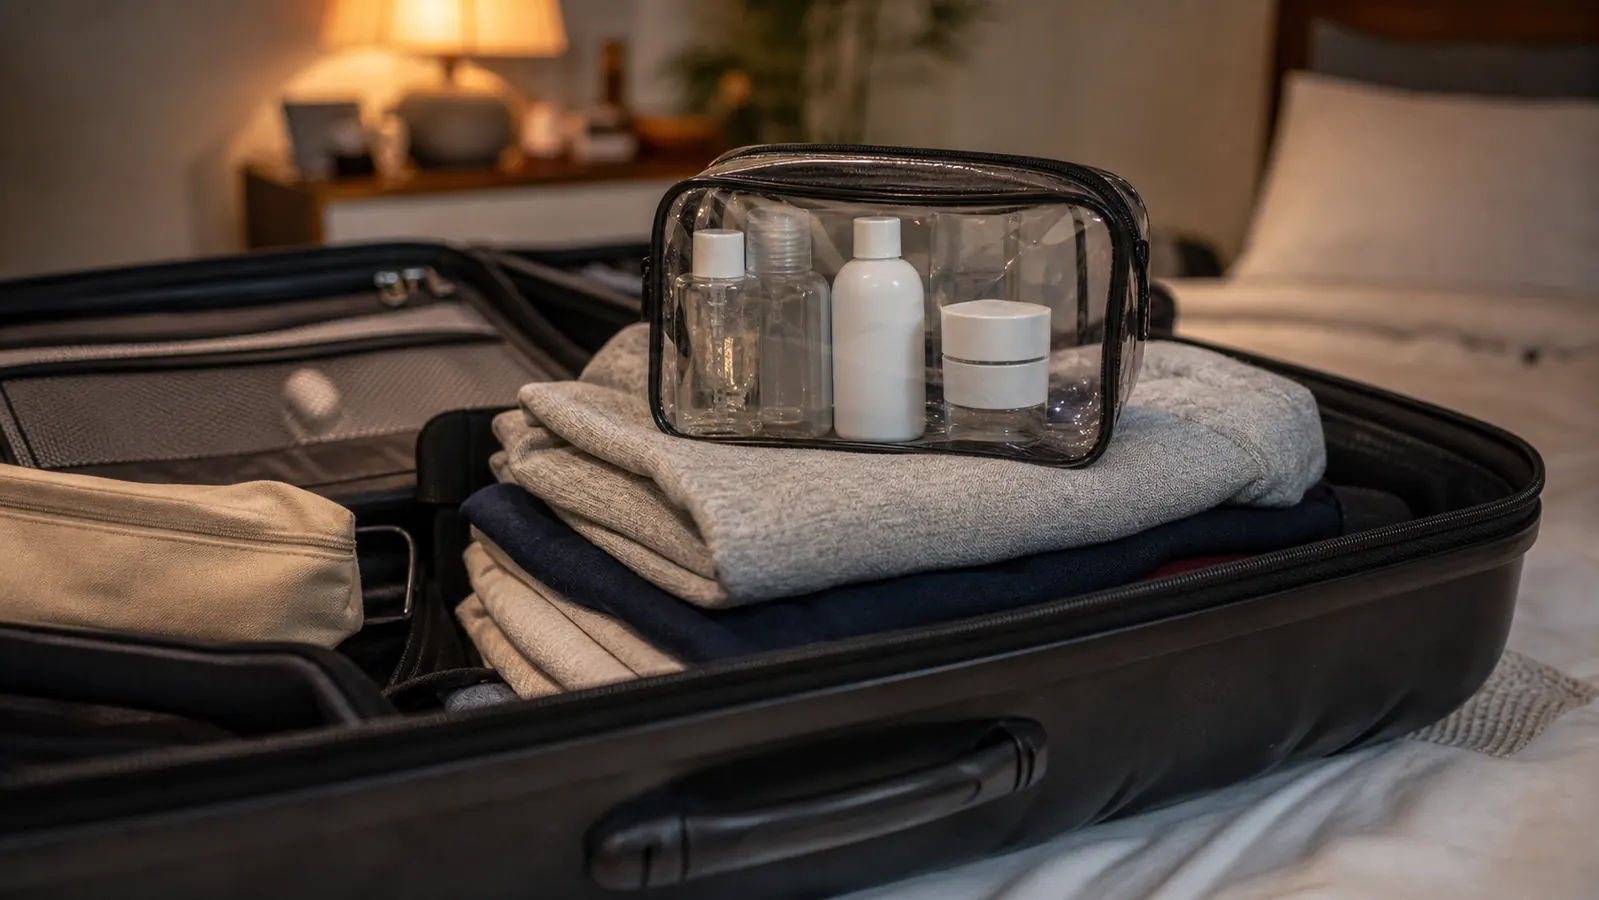
Step 4: Know What Actually Counts as a Liquid
TSA's definition of a liquid is broader than most people expect, and it is where a lot of otherwise careful packers get caught off guard. Gels, pastes, aerosols, and anything spreadable counts, which means toothpaste, deodorant if it is a gel or spray formula, peanut butter, and even a jar of jam all fall under the same 3.4-ounce container rule as a bottle of shampoo. Solid deodorant sticks and solid bar soap are the exceptions, since they are not liquid, gel, or aerosol by TSA's own definition.
This is the step that saves the most time at the belt, because it is the one most people skip. Going through your own toiletry bag item by item and asking, does this squeeze, spray, or spread, catches the things that do not look like a typical liquid but get treated as one anyway, a stick of lip balm is fine, a tube of lip gloss is not automatically fine at any size.
When in doubt, the safer move is downsizing into a travel container under 3.4 ounces rather than betting an agent will wave a borderline item through. A confiscated full-size item at the checkpoint costs you the product and the time spent arguing about it, a five-minute decant into a small bottle the night before costs you nothing at the belt.
Medically necessary liquids are the one real exception worth knowing about, since items like prescription medication, eye drops, and infant formula are allowed above 3.4 ounces if you declare them to the agent separately from your quart bag. That exception does not extend to everyday toiletries just because you would rather not travel-size a favorite lotion, so it is worth keeping the two categories mentally separate rather than assuming one exception covers everything in your bag.
Step 5: Do a Dry Run Before Your First Flight With the Bag
Before the morning of your trip, lay everything you plan to pack out on the counter and zip it into the PACKISM bag as a test, not as the real packing job. This is where you find out a bag looks full at eight items but the zipper won't actually close over ten, or that a bottle you assumed was under the limit is printed at 4 ounces once you actually check the label.
It is also the moment to double check the zipper seals flat all the way across, since a slider that catches on a stray bit of plastic near one corner and leaves a small gap is invisible until a bottle leaks through it mid-flight. We caught exactly this on one bag after an accidental drop, the zipper track had a small kink that let a hair gel tube weep through it, and finding that in a bathroom sink is a much better place to find it than in a packed suitcase.
If you are still deciding whether a purpose-built bag is worth it over a sandwich bag from the kitchen drawer, we laid out 10 reasons a clear toiletry bag is worth buying in more detail than fits here. And if a free ziplock bag still sounds like the cheaper option, our head-to-head against ziplock bags covers where that assumption actually holds up and where it falls apart after a few trips.
What Else Helps
A well-built bag solves most of this, but a couple of smaller habits close the rest of the gap. Keep a short list on your phone of exactly what lives in the bag, so repacking after a wash is a two-minute checklist instead of trying to remember from memory what you forgot last time. And label travel bottles with a strip of tape and a marker if you decant liquids regularly, since three unlabeled clear bottles at the bottom of a bag look identical until you open each one.
It is also worth keeping the toiletry bag itself outside your main packing cubes rather than buried inside one. Security wants it out and visible fast, and a bag sitting loose at the top of your carry-on comes out in one motion, while a bag zipped inside a packing cube means unpacking a second layer just to reach the first.
Finally, treat the bag itself as replaceable gear, not a one-time purchase. Check the zipper track and the seams every few months the way you would check the tread on a pair of shoes, and swap it out the moment a corner starts to cloud or the slider starts catching. That is exactly what the second and third bags in a three-pack are for, a like-new replacement is already sitting in a drawer instead of a last-minute purchase the night before a flight.
The goal was never a perfect toiletry bag. It was never getting pulled out of the line for a recheck again.
Build This Routine Around a Bag That Actually Stays Clear
The same PACKISM 3-pack, quart-size clear toiletry bag from the routine above, sized to TSA's own dimensions so there's nothing to eyeball twice at the belt.
Amazon Check Today's Price on Amazon →