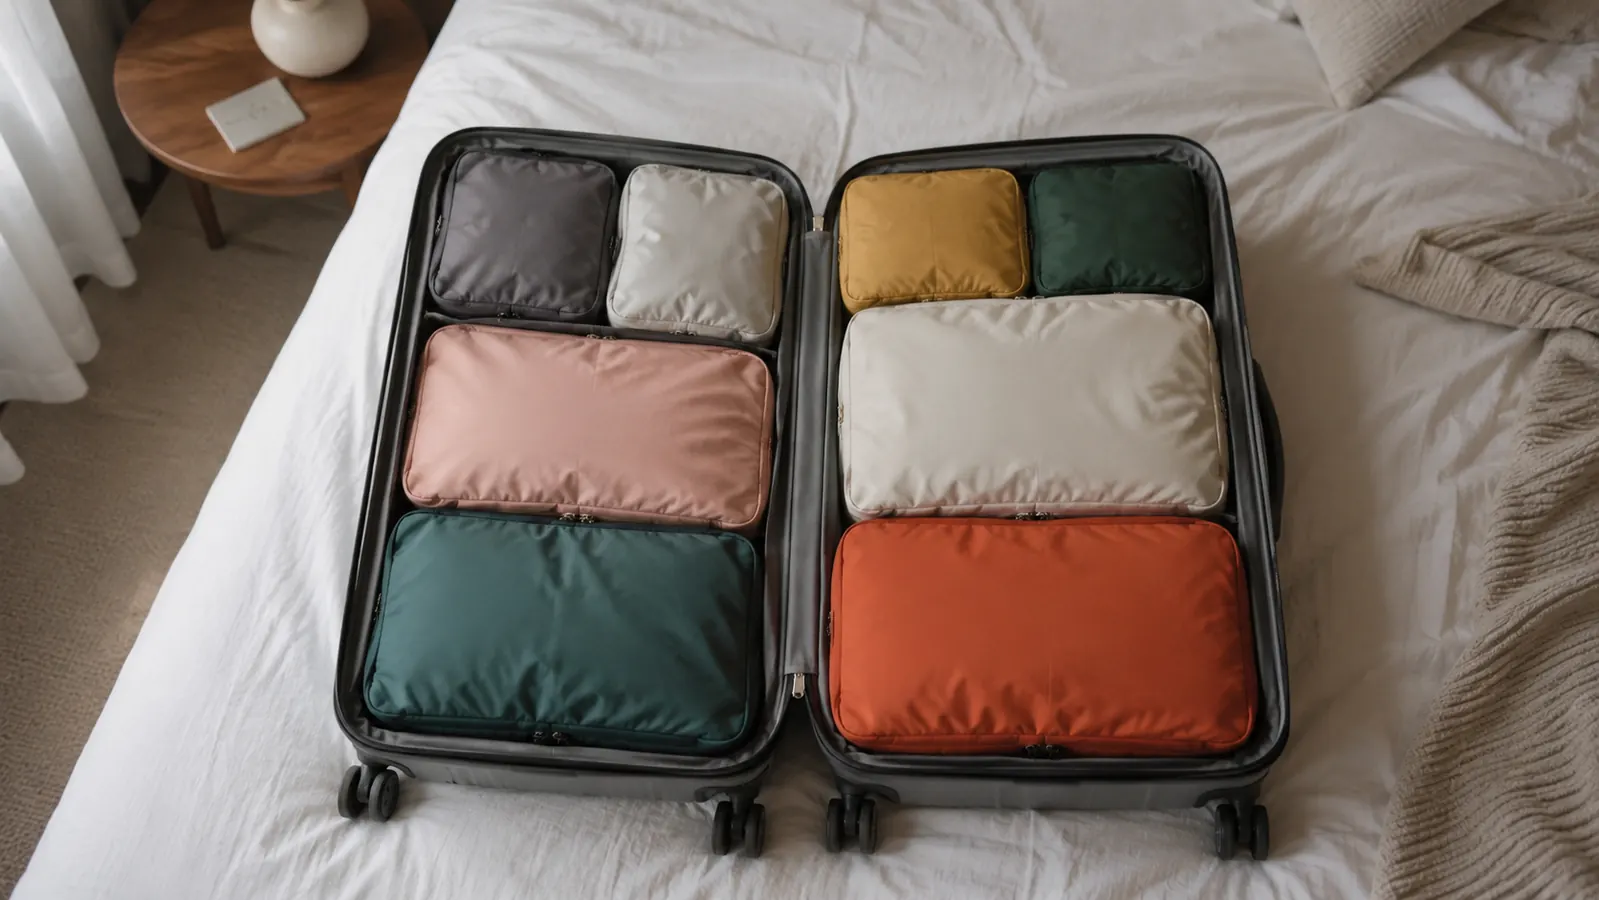
The first time I tried to fit seven days of clothes into a 22-inch carry-on, I failed twice before the airline gate agent even saw the bag. Shirts folded flat, jammed in loose, shifted the second I picked the suitcase up, and by the time I landed everything looked like it had been through a dryer with no heat setting. The bag itself wasn't the problem. The packing method was.
This guide is the method I've used on more than 40 trips since switching to a BAGAIL packing cube set: five steps, repeatable in under fifteen minutes once you've done it twice, and built around getting the most out of every cubic inch of a standard carry-on without checking a bag or paying an oversized-item fee at the counter. It works with any compression-style cube set, but the specific measurements below assume the sizing on an 8-piece kit like the one linked here.
Skip the trial-and-error version of this method
Everything below assumes a compression-style packing cube set. If you're starting from zero, this is the set I use, six garment cubes plus two smaller pouches, sized to fit a standard 22-inch carry-on without leaving dead space.
Amazon Check Today's Price on Amazon →Step 1: Sort clothes by cube before you fold anything
Most people fold their whole outfit pile first and then try to figure out where it goes. That's backward. Lay everything out on the bed and sort it into groups that match how many cubes you're packing: tops in one pile, bottoms in another, underwear and socks in a third, and anything bulky like a light jacket or swimsuit on its own. If you're using an 8-piece set, you'll usually end up using four or five of the cubes for a week-long trip and saving the smaller pouches for chargers and toiletry backups.
The point of sorting first is that it forces you to see the actual volume of what you're packing before you commit a single fold. It's a lot easier to cut two shirts from the pile at this stage than to unpack a fully zipped cube on the airport floor because it won't close. For a standard 7-day trip I count out five tops, two bottoms, seven pairs of underwear and socks, and one layer piece, which is the number that reliably fits a 22-inch bag with room left for shoes and a toiletry pouch.
Don't skip the sort step just because you've packed a hundred times before. Even experienced travelers overpack tops specifically, because shirts feel small individually and add up fast once they're rolled and stacked three deep in a cube. If you're traveling for business and mixing in one or two structured pieces, like a blazer, sort those out separately too. They don't roll well and usually need their own space along the top of the case rather than a spot inside a cube.
Step 2: Roll, don't fold, and roll tight
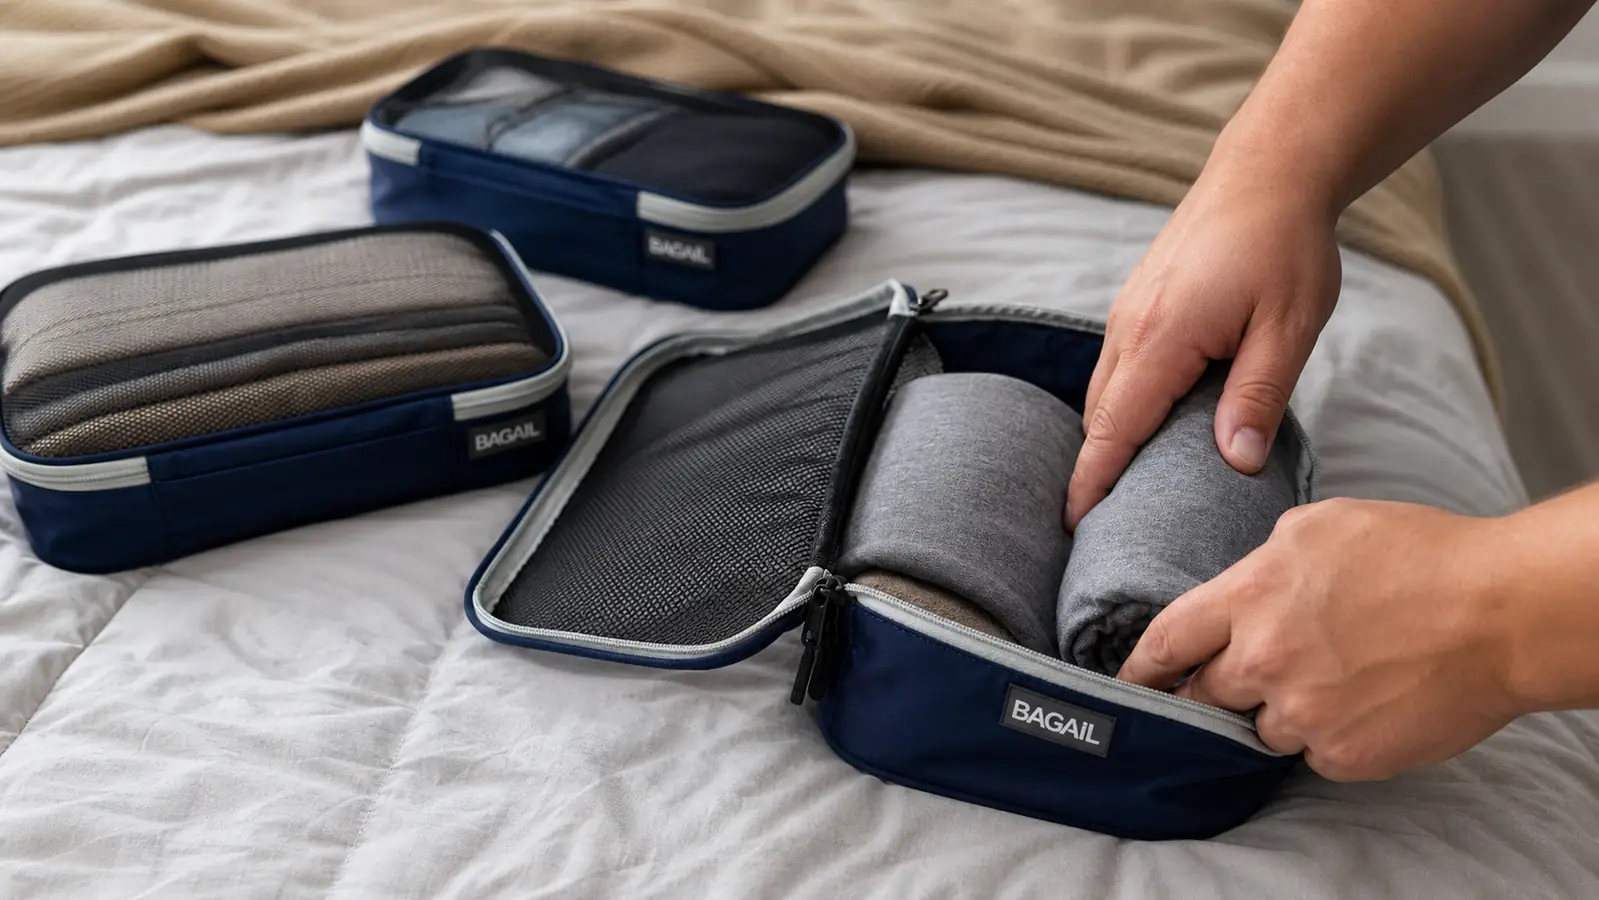
Rolling isn't a myth. Rolled clothing compresses more evenly than folded clothing and it's far less likely to develop the sharp crease lines that folding leaves at the fold point, especially on cotton and linen. Roll each shirt starting from the collar, keep the roll tight enough that it holds its own shape without a rubber band, and lay the rolls side by side in the cube like cans in a case rather than stacking them loose.
Pants get the same treatment but fold in half lengthwise first, then roll from the waistband down. This keeps the crease along the existing seam instead of across the leg, which matters if you're packing anything you plan to wear to dinner and not just a hotel gym. For dress shirts or anything with a collar you actually care about, roll it inside out with a piece of tissue paper or a plastic dry-cleaning bag between layers, it costs ten seconds and cuts wrinkling by half in my experience.
Knit fabrics, athletic wear, and anything synthetic roll the tightest and bounce back the fastest, so put those on the outside of each roll stack where they take the most compression. Stiffer fabrics like denim or heavier cotton hold their shape better anyway and can go in the middle of the stack where they'll get squeezed the hardest once the cube is compressed.
Step 3: Fill cubes by category, then compress
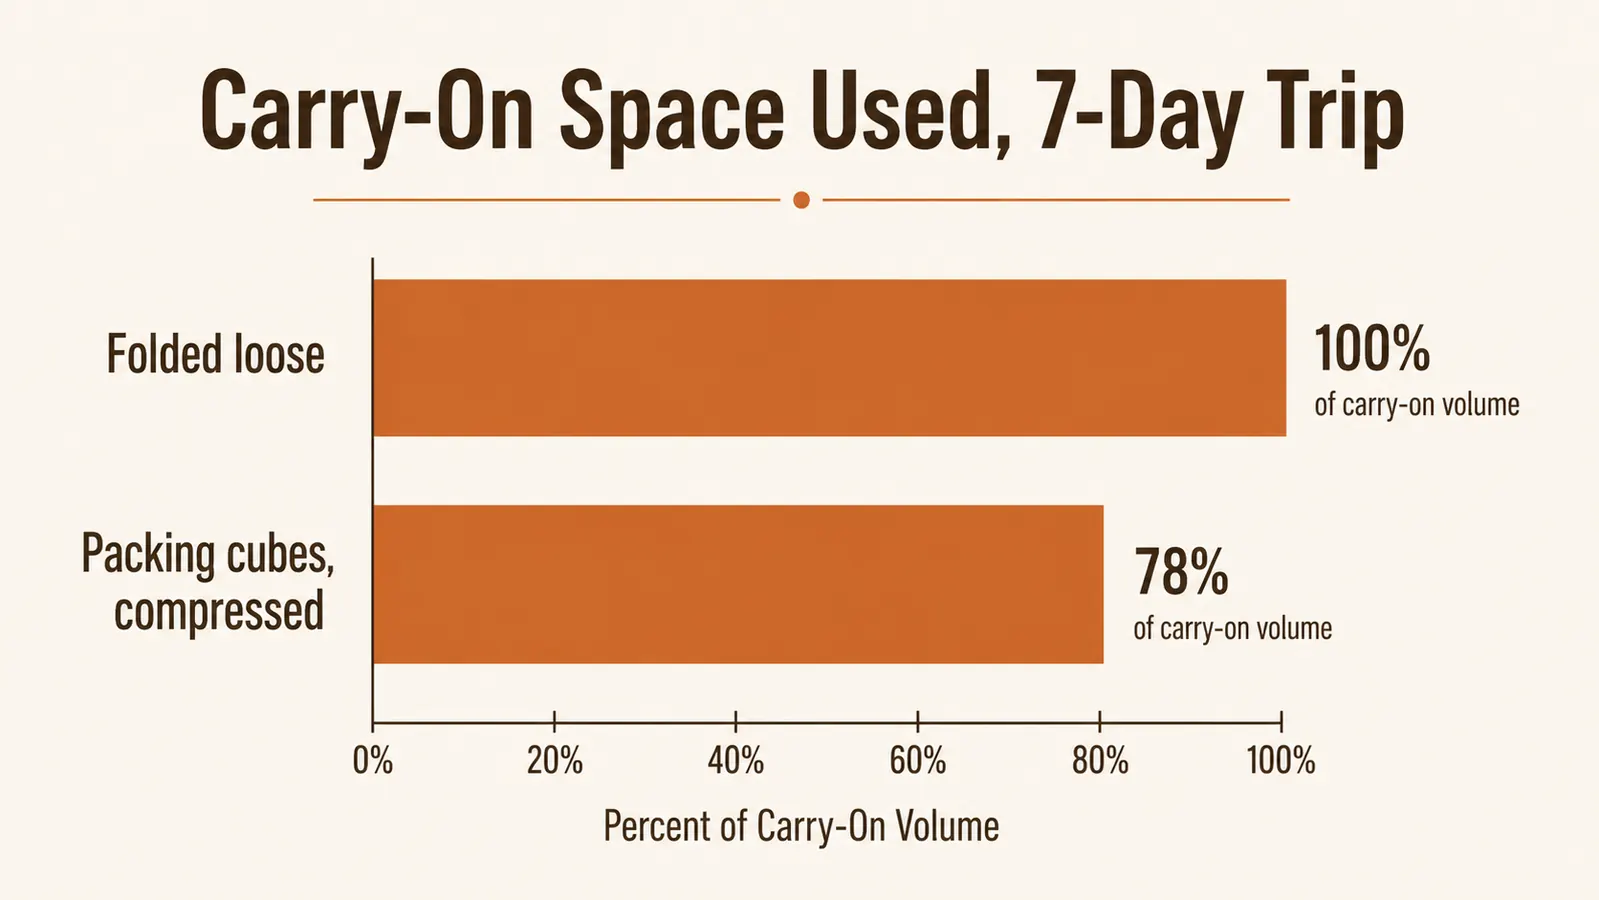
Once everything is rolled, load one cube per category: one for tops, one for bottoms, one for underwear and socks, one for anything you're wearing more than once like a cardigan or hoodie. This is where a compression-style cube earns its keep over a plain mesh pouch. The BAGAIL cubes I use have a two-way zipper, a flat zipper closes the cube normally and a second zipper on the same panel presses the contents down by roughly a third once everything's inside. That's the difference between a cube that bulges and one that lies flat against the next layer.
Don't compress before the cube is full. Compressing a half-empty cube just wrinkles what's inside without gaining any usable space. Fill it to where the zipper is a little tight to close normally, then compress. On a typical 7-day load I get the tops cube down from roughly 4 inches of loft to just under 3 inches once compressed, which is the margin that decides whether the bag closes without sitting on it.
This is also where the quality of the zipper track matters more than people expect. A cheap compression zipper on a cube that's genuinely full will snag or split at the corner, and I've had that happen with a no-name set from a five-pack a few years back. The BAGAIL zippers have held that same full-cube pressure across more than a year of monthly trips without a single split seam or stuck pull.
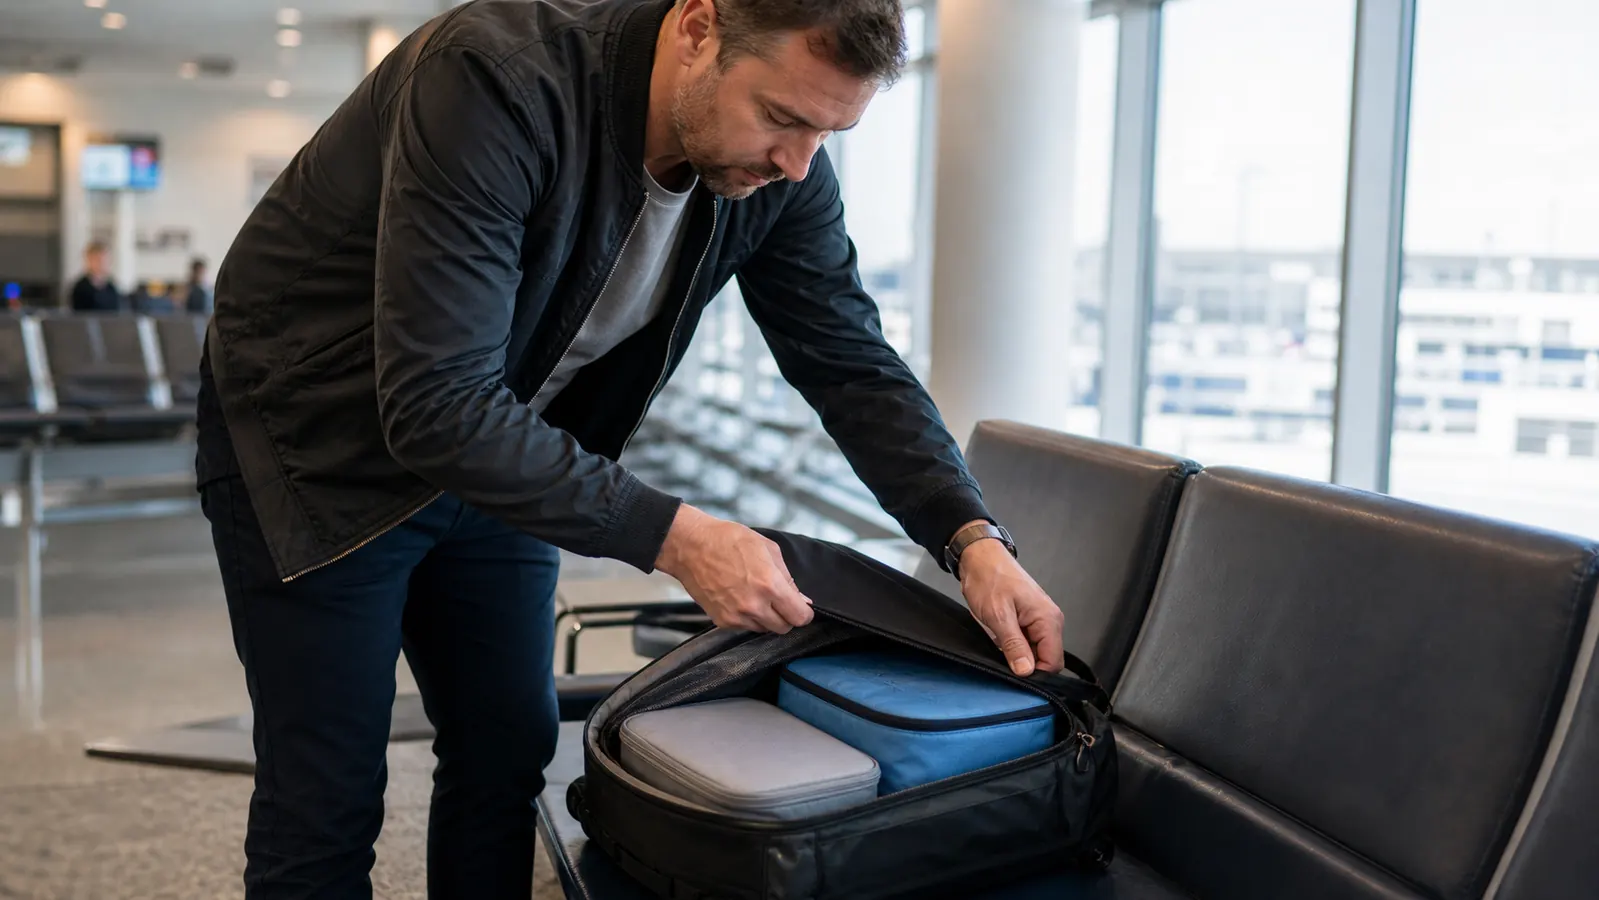
Step 4: Build the suitcase in layers, heaviest and flattest first
Compressed cubes go in first, laid flat against the bottom of the suitcase near the wheels, which is the end that takes the most impact when the bag gets tossed onto a conveyor belt. Stack the heaviest cube, usually pants, on the bottom, then tops, then the underwear and socks cube, which is the smallest and fills gaps well. Shoes go in a separate bag or the small pouch from your set, tucked along the side wall rather than the top, so they don't press down on folded fabric during transit.
Anything you'll need fast, a change of clothes for a delayed connection, a phone charger, goes in last, on top, where you can grab it without unpacking the whole bag in an airport bathroom. If your carry-on has a compression strap built into the lid, run it over the top cube before you close the lid, not just at the very end, it keeps the whole stack from shifting when the bag gets set on its side at security.
Leave a thin gap along one edge of the case, roughly the width of a paperback, for anything you pick up during the trip. Souvenirs, an extra layer for cold weather, a jacket that didn't fit on the way out. Packing the case completely full on the outbound leg guarantees a fight with the zipper on the way home.
Step 5: Do a final weight and zipper check before you leave the house
Zip the outer suitcase closed, lift it by the handle the way you would getting it off a curb, and check two things: does it zip without straining at the seam, and does it feel like something you can lift into an overhead bin without help. If the answer to either is no, that's the moment to pull one cube's worth of clothes back out, not the moment you're standing at the gate being asked to check it. A carry-on that's stuffed past its natural shape is also the one most likely to get flagged for a size check at boarding.
I keep a cheap luggage scale clipped to the handle of my closet door for exactly this reason. A packed carry-on using this method usually lands between 14 and 17 pounds for a week of clothes, which leaves plenty of margin under most airlines' carry-on weight limits even before you add a laptop or a jacket you're wearing instead of packing.
Carry-on size limits vary more between airlines than most travelers realize, some low-cost carriers cap the linear dimensions a full two inches tighter than the major U.S. airlines. If you fly a mix of airlines, size your carry-on and your cube count to the tightest limit you regularly encounter, not the most generous one, so you're not repacking at the counter on the trips where it matters most.
What I Liked
- Compression zipper genuinely reduces bulk, not just marketing language
- Consistent sizing across the set means cubes stack flat instead of at odd angles
- Mesh top lets you see contents without unzipping
- Handles have held up over a full year of monthly trips without fraying
Where It Falls Short
- The compression zipper needs a firm, steady pull, tugging it fast can jam the track
- Smallest pouch is really only big enough for cables and socks, not a toiletry kit
- Bright interior colors show dirt and ink stains faster than dark ones would
A packing cube system doesn't make you a lighter packer. It makes you an organized one, and organized is what actually fits in a 22-inch bag.
What Else Helps
Packing cubes solve the volume and wrinkle problem, but they don't solve everything. A separate clear liquids pouch keeps TSA screening fast and stops a leaking bottle from ruining a cube full of clothes. A slim cable organizer or the smaller pouch from your set keeps chargers from tangling with socks. And weighing the bag on a bathroom scale before you leave, rather than guessing, avoids the gate surprise that costs more than any of these accessories combined. None of that replaces the core method above, it just extends it once the clothes are handled.
If you travel often enough that packing feels like a weekly chore rather than a pre-vacation task, it's worth keeping a second, smaller set of cubes pre-packed with basics, toiletries, a spare charger, a change of underwear, so a short overnight trip is a five-minute job instead of a repeat of the full method every time. It's also worth writing down what actually fit on a trip that worked, five tops, two bottoms, one layer, so you're not re-deriving the count from scratch every time you pack.
Cubes take wear differently than the suitcase around them, since they get pulled out, unzipped, and stuffed back in on every single trip rather than sitting closed in overhead storage. Mine go through the wash every few months, cold water, air dry, and the mesh panels on the BAGAIL set have held their shape through more than a dozen washes without sagging or losing their stitching along the seams, which is usually where a cheaper cube fails first.
Get the cube set built for this exact method
The steps above assume compression cubes sized for a carry-on, not a checked bag. This is the eight-piece BAGAIL set I've used on 40-plus trips, still holding its zippers and seams with no repacking mid-trip.
Amazon Check Today's Price on Amazon →